I've been meaning to try out photogrammetry for a while. I had a minute and ordered a couple very basic items online.
Real world tools:
1. Lazy susan turntable: This so I can leave my camera static and rotate the item instead. Adding red dot stickers from the office supply store every 10 degrees was a big help. Previous to this I was taking far too many photos. So now I take 36 per rotation/angle which seems to be plenty. (10 * 36 = 360) This surface needs to be coated with something to be less reflective.
2. Tripod with many adjustable positions: Maybe my kids will even let me take pictures of them one day.
3. Lightbox: I was able to use this to control the background and lighting. It's not really what you want for photogrammetry - as it turns out. This because you don't typically want strong lighting from overhead and the cyc cards are too reflective.
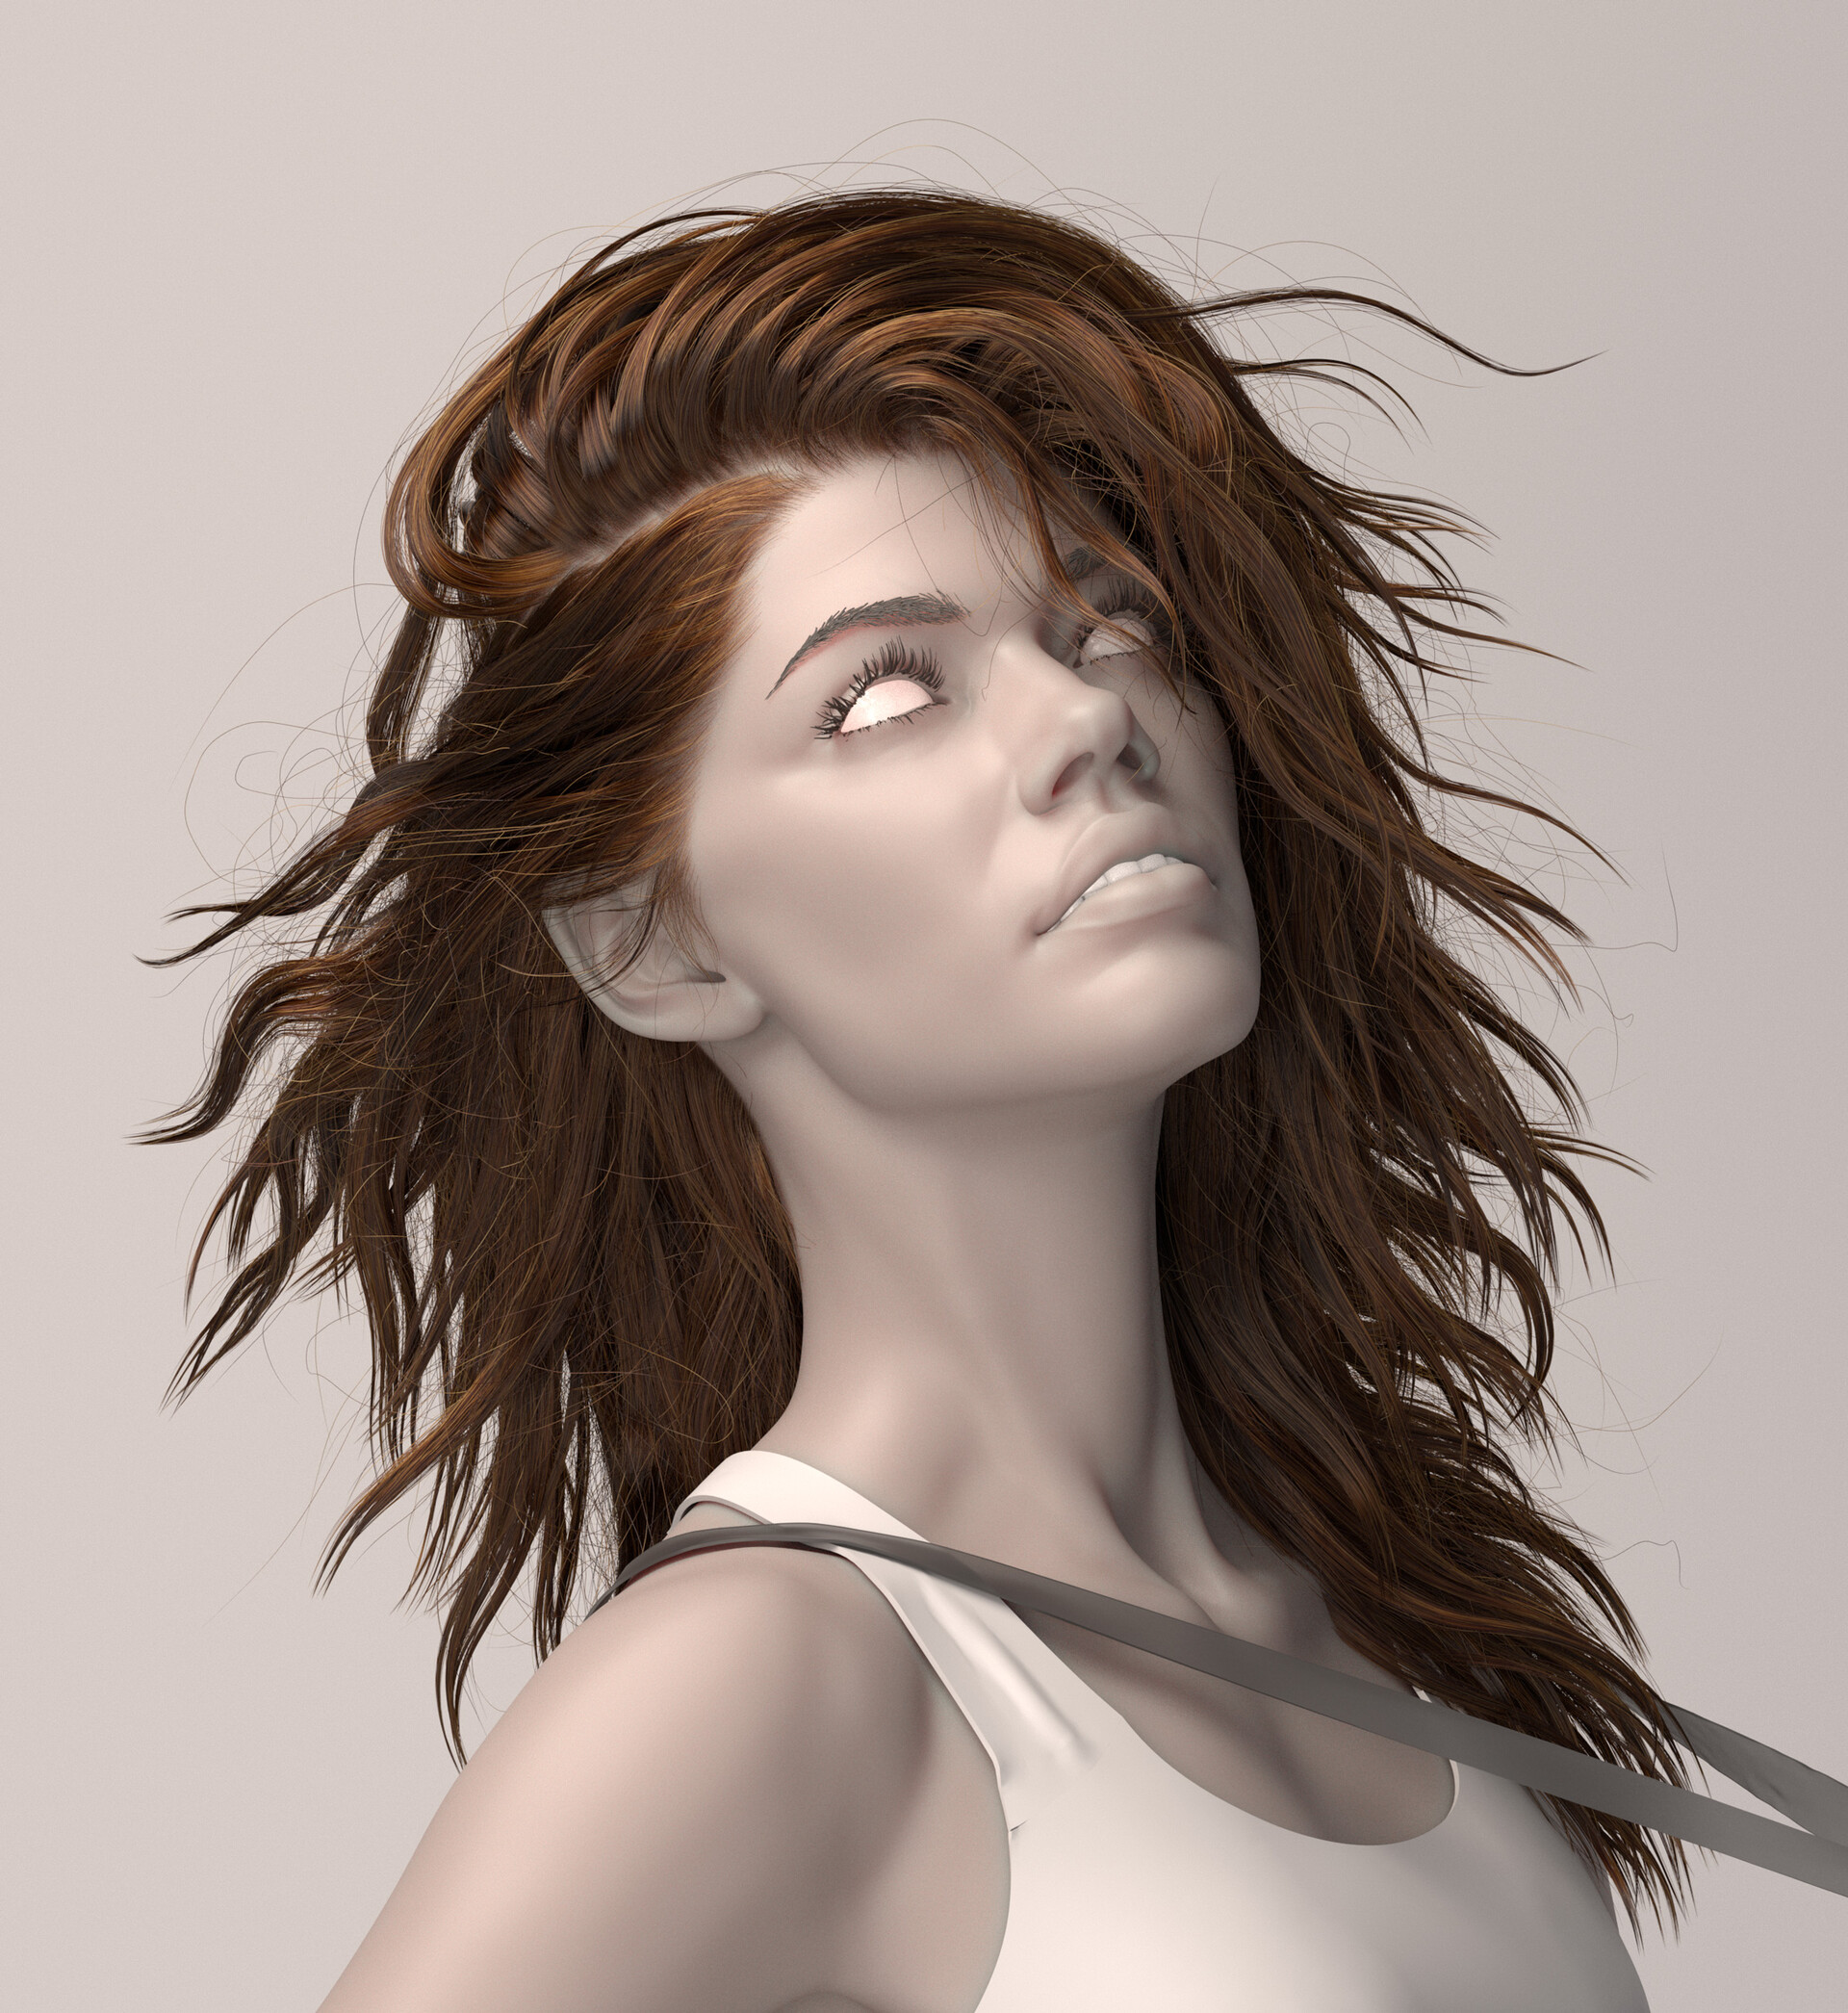
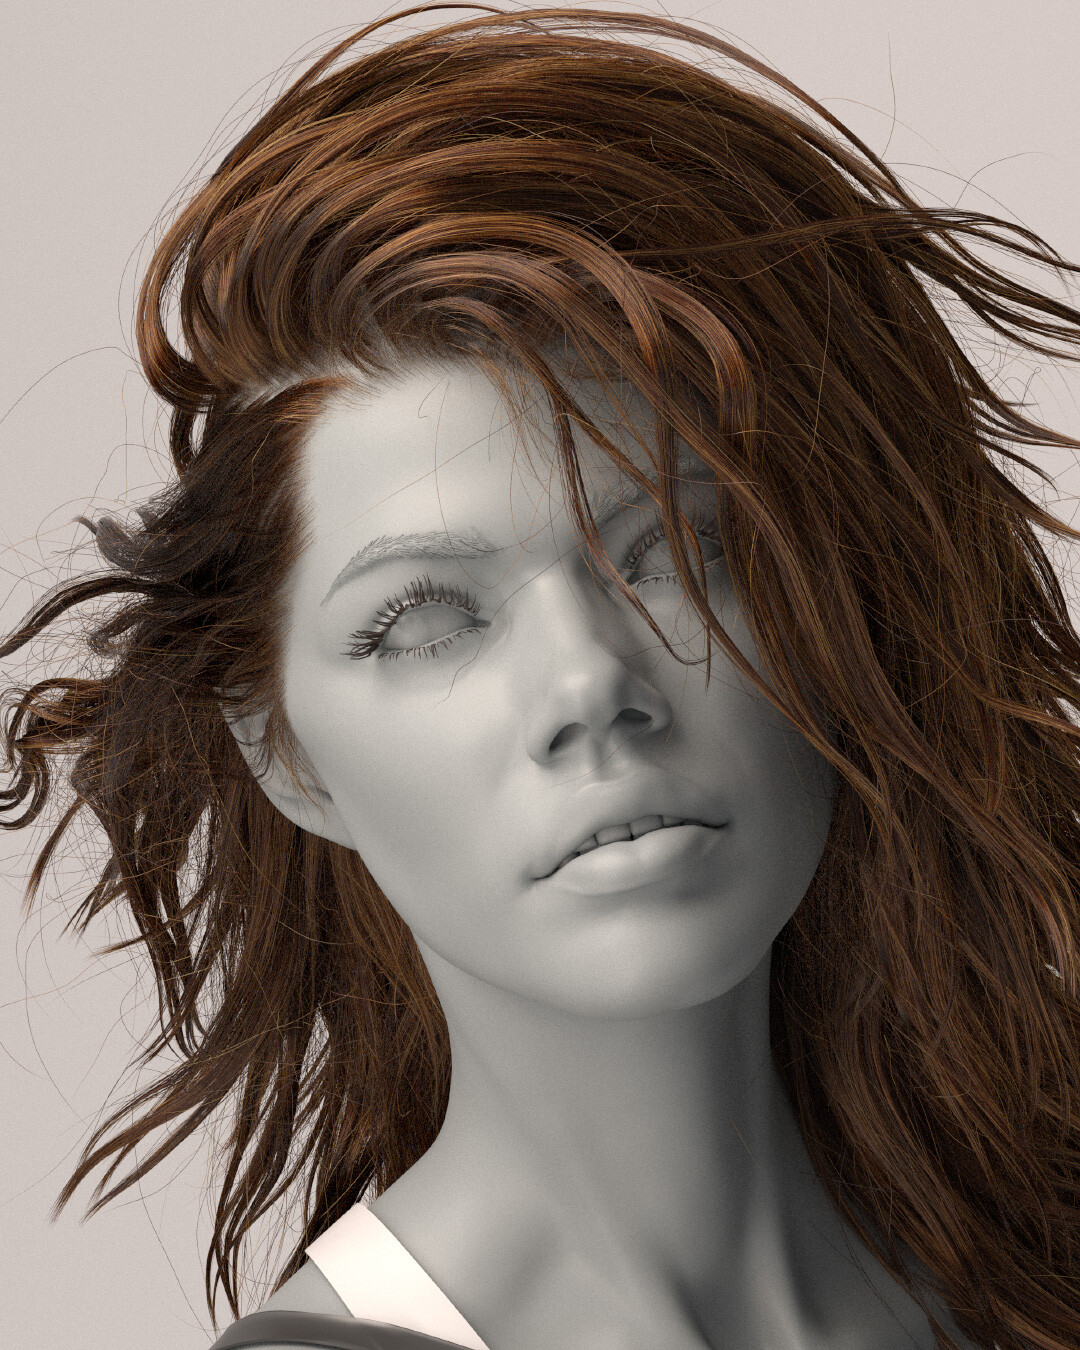
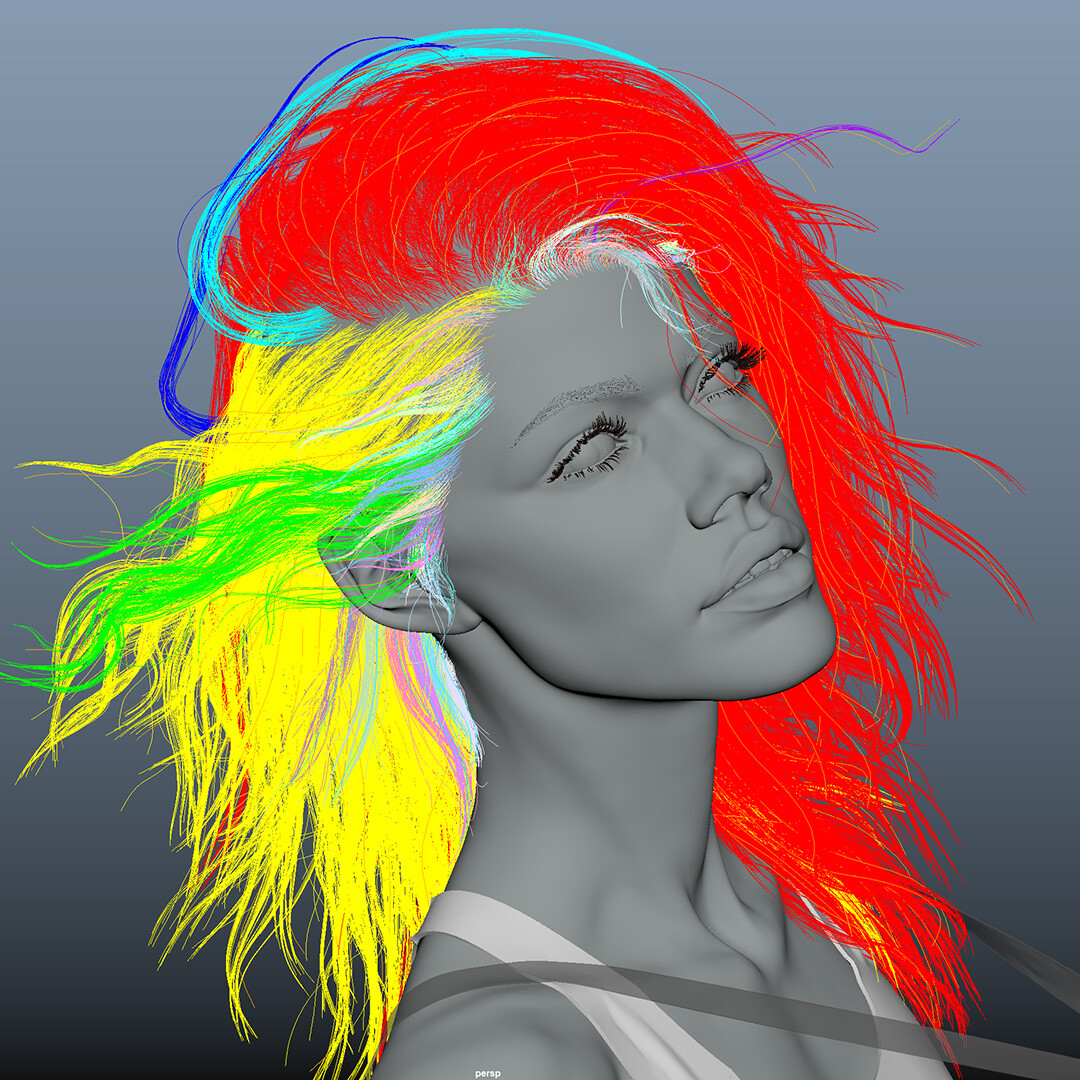
4. Shutter Remote: This to take photos without jostling the camera which would create blurry photos. I also used this to scan my own head from a distance for my Mesh to MH experiment.
5. Polarized filters: Lens & Sheets. I layered the sheets at different angles over the lightbox lights but I don't think it's doing much aside from dimming the LED's - which is still helpful. The Lens filter makes a noticeable difference when rotated correctly.
6. Things I already had:
- Nikon D5500 DSLR
- 35mm prime lens
- 18-140mm lens
- SB-700 Speedlight: Not the preferred position for a light source. I also can't polarize it so far as I know.

Best links for learning:
- Grzegorz Baran channel but mostly this one for me.
- Agisoft Delighting tool (which is free).
- Merging and cleaning up chunks in Metashape.
Software:
- Agisoft Delighting tool (free)
- Agisoft Metashape: This to actually combine all the photos. There are free options like Meshroom.
- Houdini also has an Alicevision plugin. Using Houdini you can of course proceduralize many steps.
- Rembg: Batch masking via Python Machine Learning (free). I was pleased as punch to find this and how well it worked.
- Lightroom Classic: Used for adjusting RAW photos and later I found that the AI masking is decent here too. Using this also allows some hands on fixes where needed. Crashes a lot.
- Some other 3D DCC to align and cleanup the naming and materials for Sketchup. I used Maya mostly.
Final thoughts:
Masking: This to remove the background completely. The reason this step is worthwhile is so that you can flip your subject over any which way to capture every surface. Then the reconstruction software thinks the object is floating in space and aligns the photos easily.
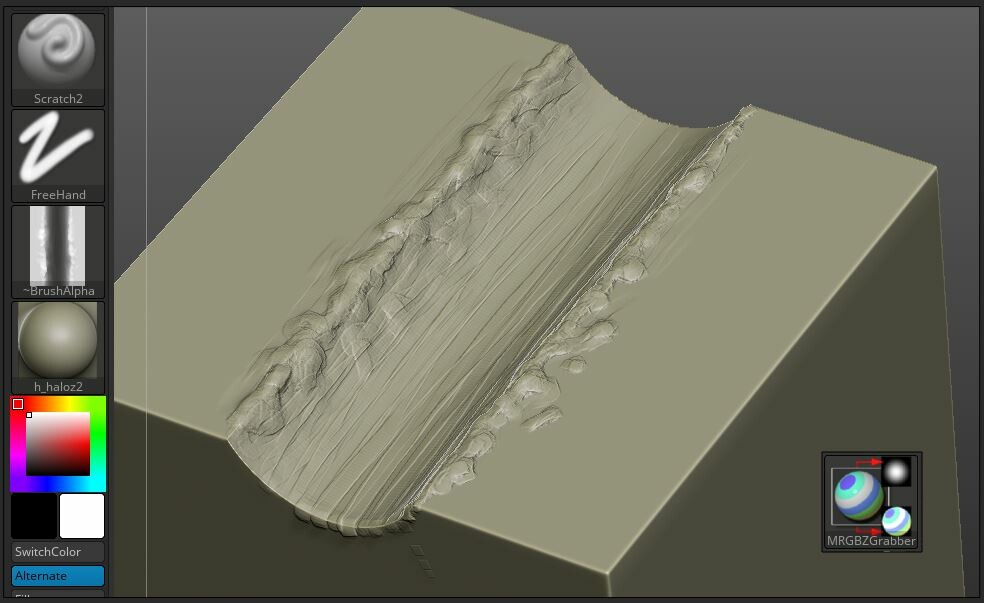
Ring light: I get the sense that a good polarized ring light is going to be VERY worthwhile if I were doing this for work or scanning many items. This should reduce the need for so much delighting or manual cleaning in Painter. Additionally, the combination with the polarizer should increase surface quality quite drastically as seen in either Grzegorz or Faucher's videos.
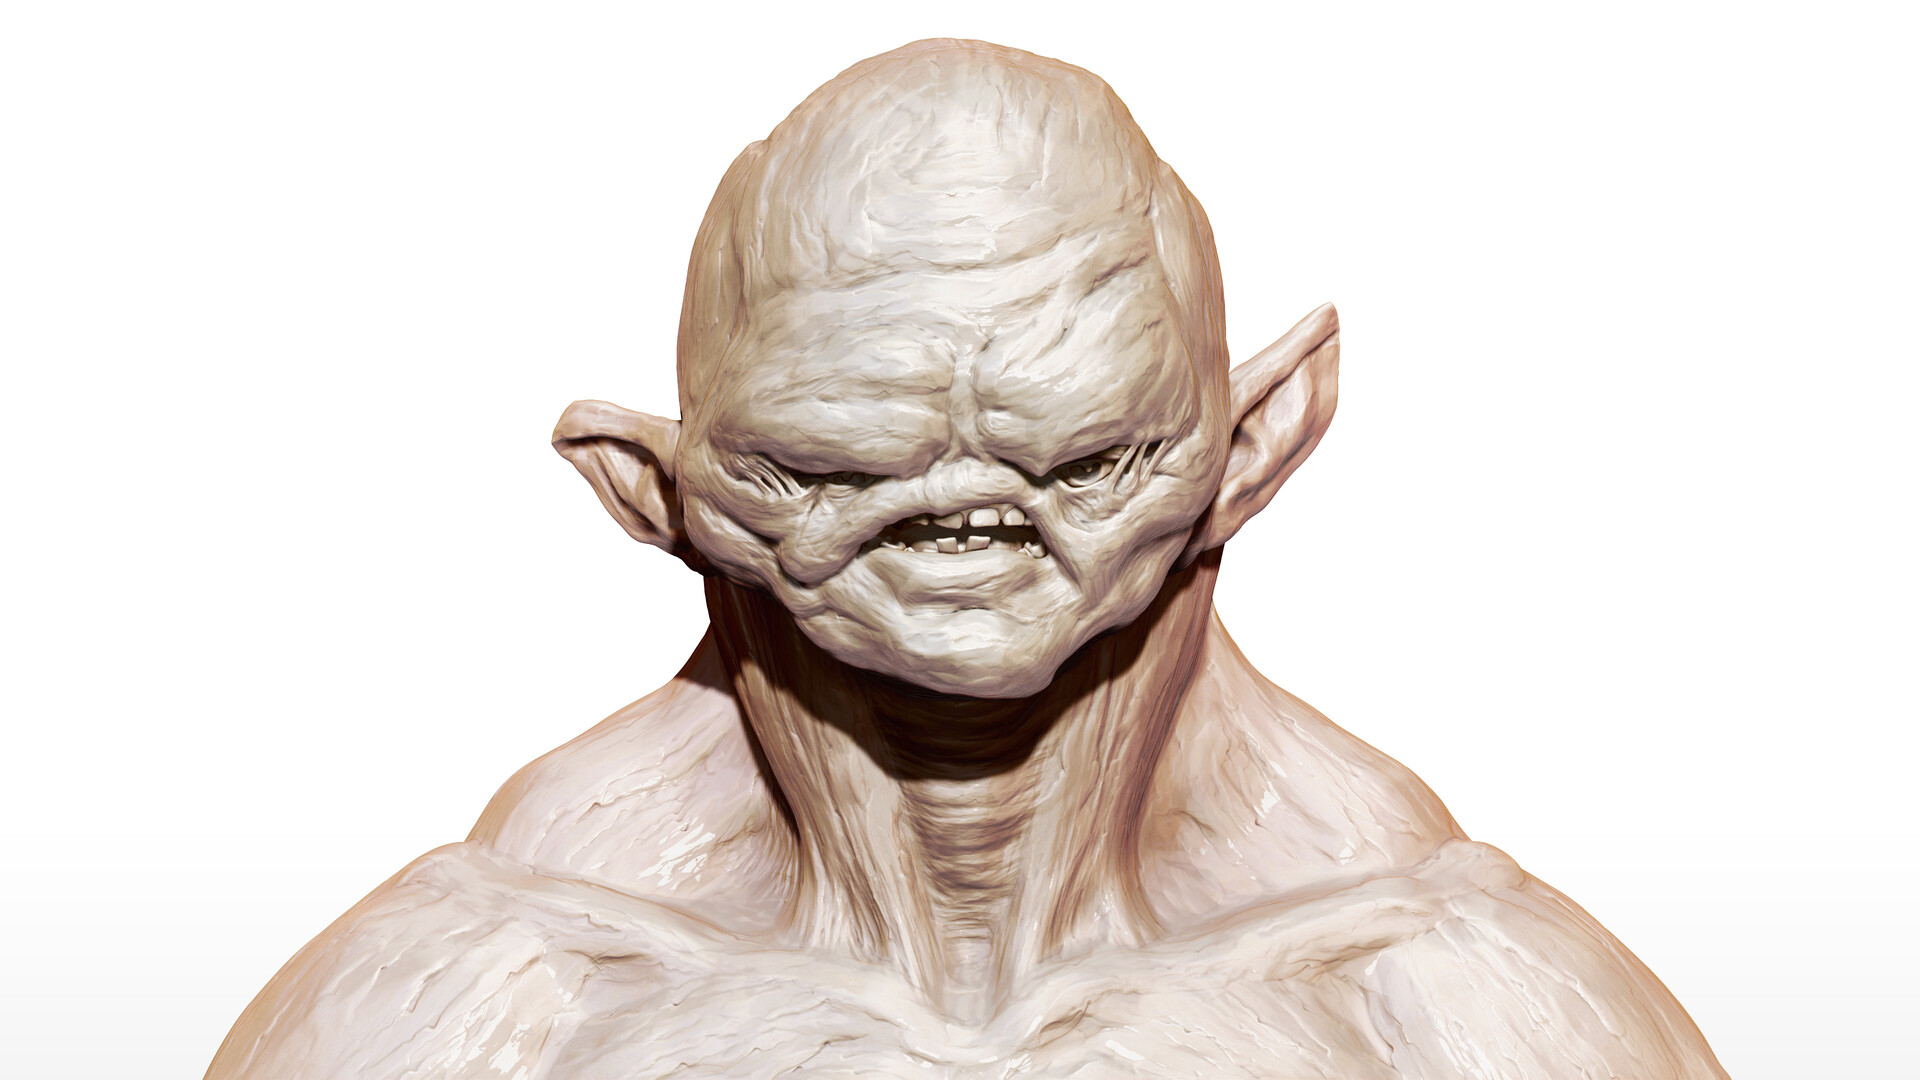
Subjects: Shoes and skulls seem to fill the photogrammety prop marketplace but it's for good reason. They're time consuming to model. So even using a rough scan as a starting place to "trace" can be a huge time saver.
Happy scanning!